I read and loved the amazing book Game Engine Black Book: Wolfenstein 3D by Fabien Sanglard. If you have even the slightest interest in game development and especially how they did coding “back in the days”, you really should read this book. Fabien describes in detail how the Wolfenstein 3D Engine came together and how it works internally. It also describes how the surrounding ecosystem of processors, the VGA standard etc. was and how the game fit into it. The beautiful thing is that you don’t need to take a week off your day job to understand the whole of the engine, but can get an overview pretty quickly.
Fabien also recently published the next part, the DOOM Engine Black Book.
I’m really impressed by the things coders had to overcome and invent back then. Some assorted things – I’m only providing hints here, really buy the book and read about it there in detail!
- Triple buffering – Believe it or not, Wolfenstein 3D already had triple buffering.
- Shaders – Well not really, but in order for efficiently drawing textured lines at different sizes onto the screen, they pre-compiled sampling patterns that do the resizing.
- VGA modes – The book comes with a great explanation of the Mode-X and Mode-Y modes of VGA cards that coders found out about back then and used for such realtime games.
I don’t want to go into much detail on how a raycasting engine like Wolf3Ds works, because others such as Sanglard have done this awesomely already. So, if you want to learn about it, go and buy the book (very recommended) our check out this video by Matt Godbolt.
My code is based on the second exercise of the lecture I partly taught in the past, “Game Technology”. In this exercise, we asked students to program a 2D demo. In order to do this, we built a 2D canvas using the Kore engine. It was therefore a good basis to push raw pixels on a current PC setup.
Code structure
(Please note that this code was written as a side project while crunching on my job’s game, so things might be all over the place).
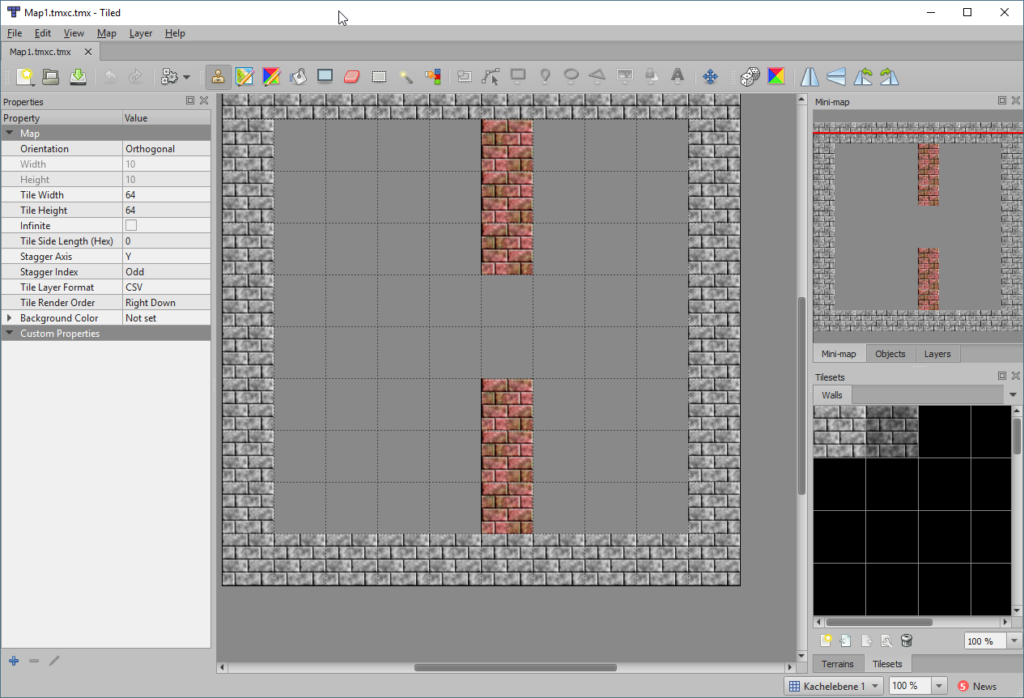
You can find the whole code in one cpp. It starts out with a definition of the level which is one large array of ints. This was actually generated using the tile map editor Tiled and exported this way. Each entry stands for a cell of size 100×100 in the level and indicates the wall type or if the space is empty.Â
The bulk of the work is done by the function CastRay. It checks how far a ray will travel once cast from a specific point and what it will hit. This is then used in UpdateView to cast a ray for each vertical line that makes up the window’s view. Each line is filled with the function DrawVerticalLine which draws a “textured line” that is scaled based on the distance.
I added one small feature which was not feasible in Wolfenstein. The original had shaded and unshaded versions of each texture and they were set up statically, so that one part of the room was lit while the other side was always unlit. I added a light position and cast another ray from the position of “impact” of the initial ray with a wall to the light position. If the ray hits a wall before the light, the line is drawn with the shaded texture, if not with the unshaded one.
Try it yourself
You can download a compiled version on github at https://github.com/SpookyFM/Raycaster/releases/tag/1.0
or check out the source code at https://github.com/SpookyFM/Raycaster
To compile, you’ll need to follow the instructions of Kore that you can find here.
This boils down to installing node.js and calling “node Kore/make” in the cloned folder.
Â

